Home Assistant
Beautiful entity cards, area grouping, and interactive controls for your Home Assistant instance. Lights, climate, media, covers, locks — no code, no templates.
About
A plugin for Home Screens — the open-source smart display system for Raspberry Pi — that brings beautiful entity cards, area grouping, and interactive controls for your Home Assistant instance to your kiosk.
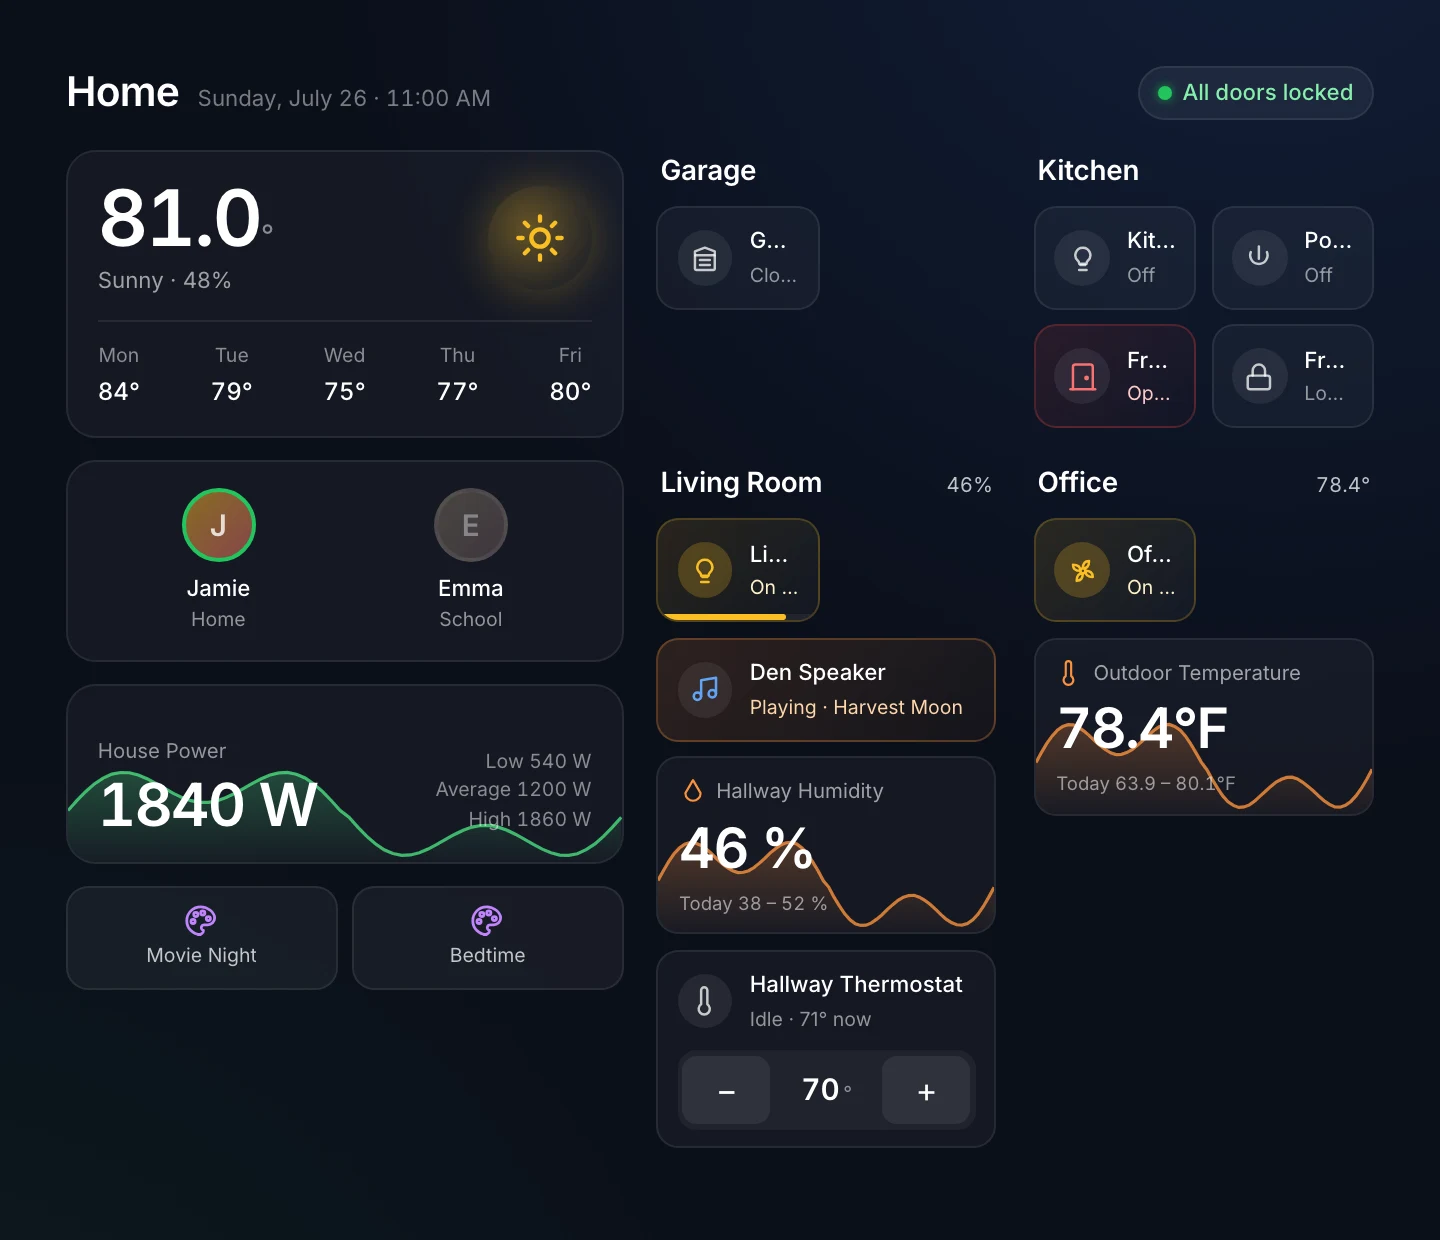
- No code. Pick entities from a searchable browser. No Jinja2, no template strings.
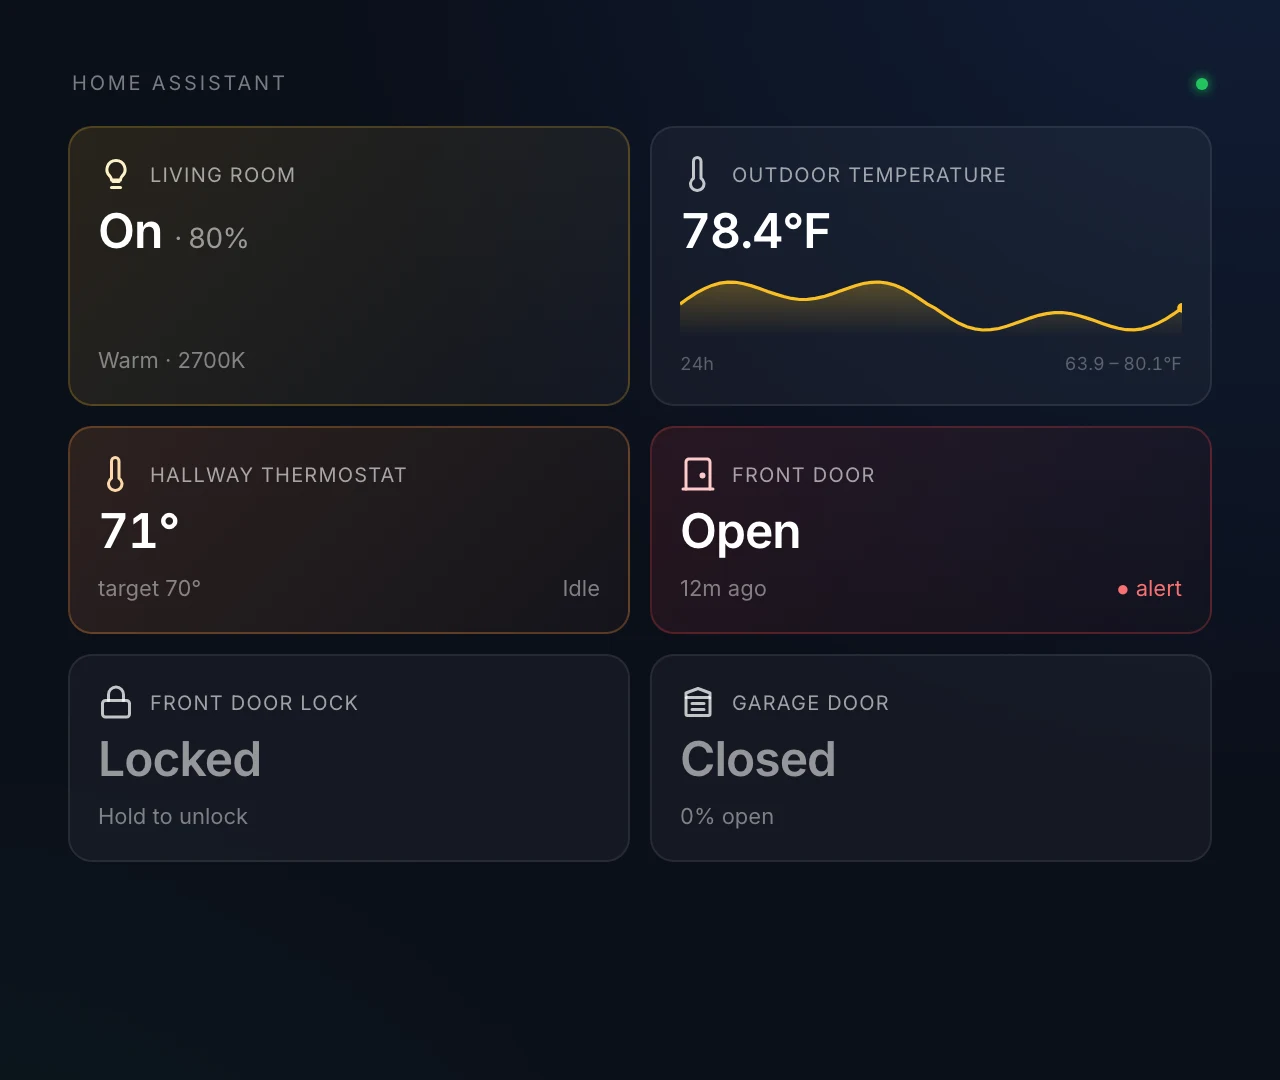
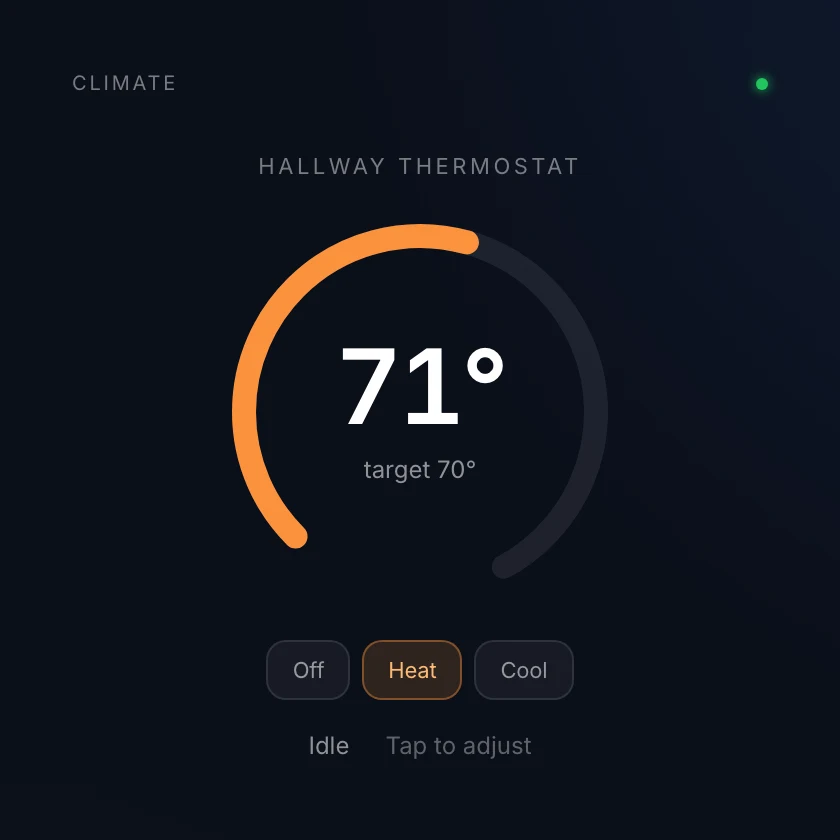
- Type-aware rendering. Sensors get units + trend arrows, lights show brightness, climate gets a temperature arc, media shows album art, and people show the photo you gave them in Home Assistant.
- 15+ domains.
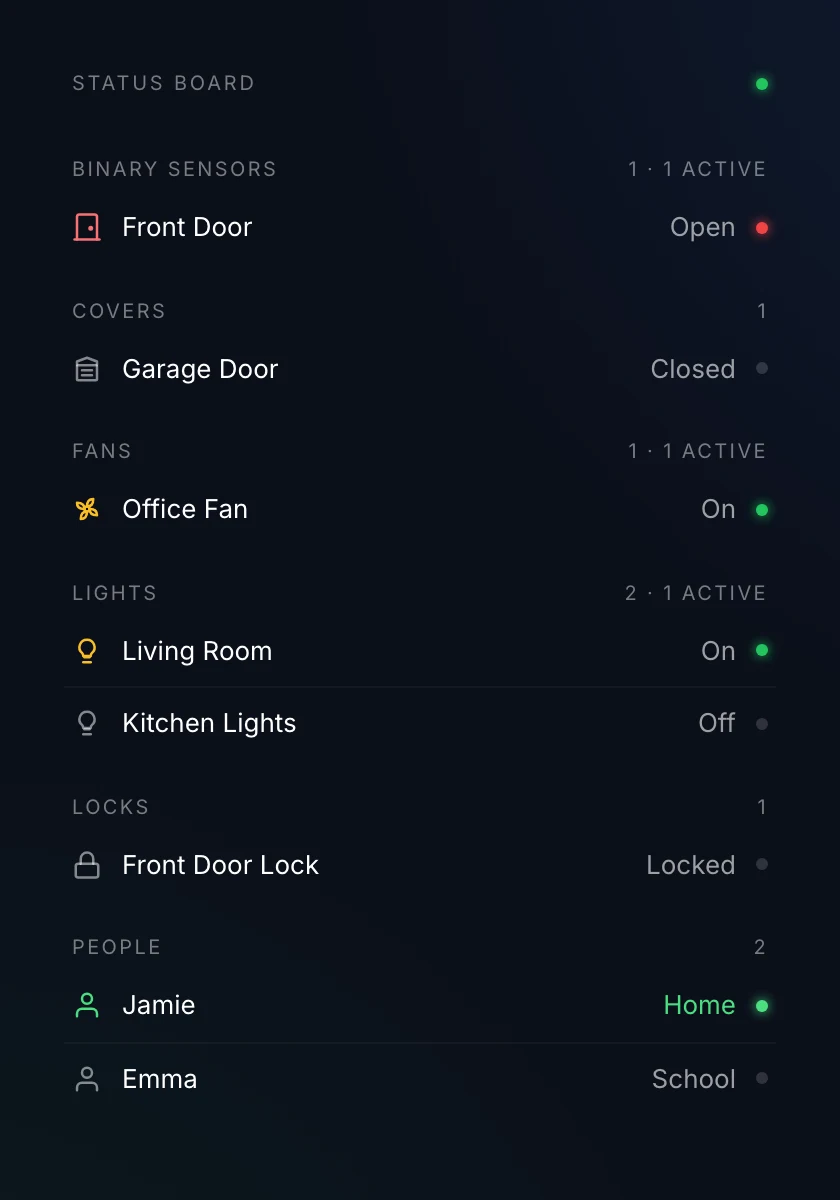
sensor,binary_sensor,light,switch,climate,weather,person,media_player,cover,lock,fan,input_boolean,automation,scene,camera. - 12 widget views. Card grid, status board, by area, single entity, single row, climate, media, cameras, buttons, alerts, batteries, power.
- 3 full-screen views. Dashboard, energy flow, and timeline are built to be the only module on a screen (see Full-screen views).
- Interactive. Tap lights/switches/fans/input_booleans/automations to toggle. Tap scenes to activate. Tap media_player to play/pause. Tap covers to toggle. Hold a light, cover, or fan card for full controls — brightness, warmth, color, blind position, fan speed — and tap a climate card for setpoints and modes. Locks take a deliberate one-second hold, so a passing elbow can't open the front door.
- Automatic colors. A running heater, an unlocked door, an open blind, somebody home: the things worth noticing color themselves, with no rules to write. Your own color rules still win, and the whole thing has an off switch.
- Dashboard (full screen). A whole screen of your home: rooms as sections, tiles you tap and hold, the weather and who's home along the top. Turn on the at-a-glance column for weather, people, house power, and scenes down the left side. Made for a wall-mounted display with the Home Assistant module as the only thing on the screen.
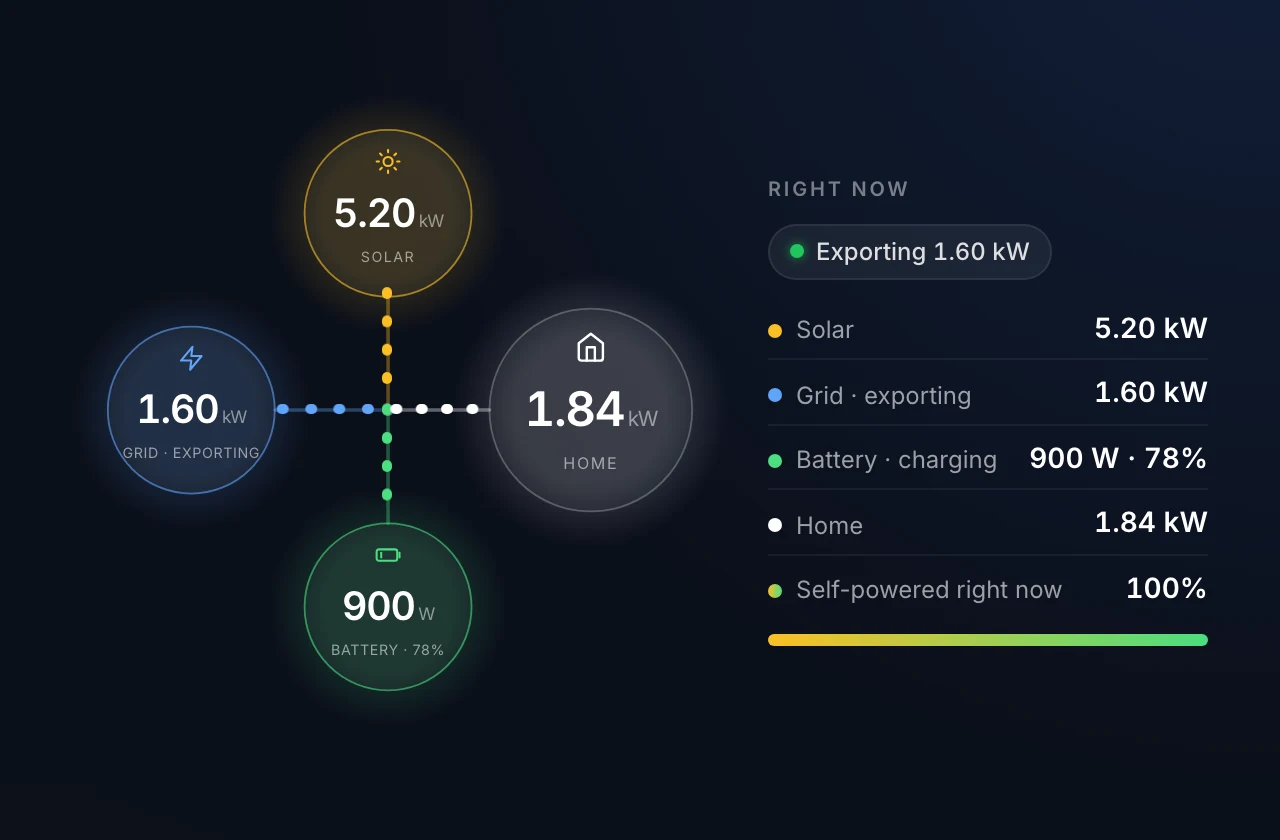
- Energy flow (full screen). Solar, grid, battery, and house as a live diagram, with power moving along the wires at the speed it's really flowing. Pick your power sensors and it sorts them out by name.
- Timeline (full screen). What happened at home today: a 24-hour lane for every light, door, lock, and person, and the story in words underneath ("Emma came home 3:12 PM").
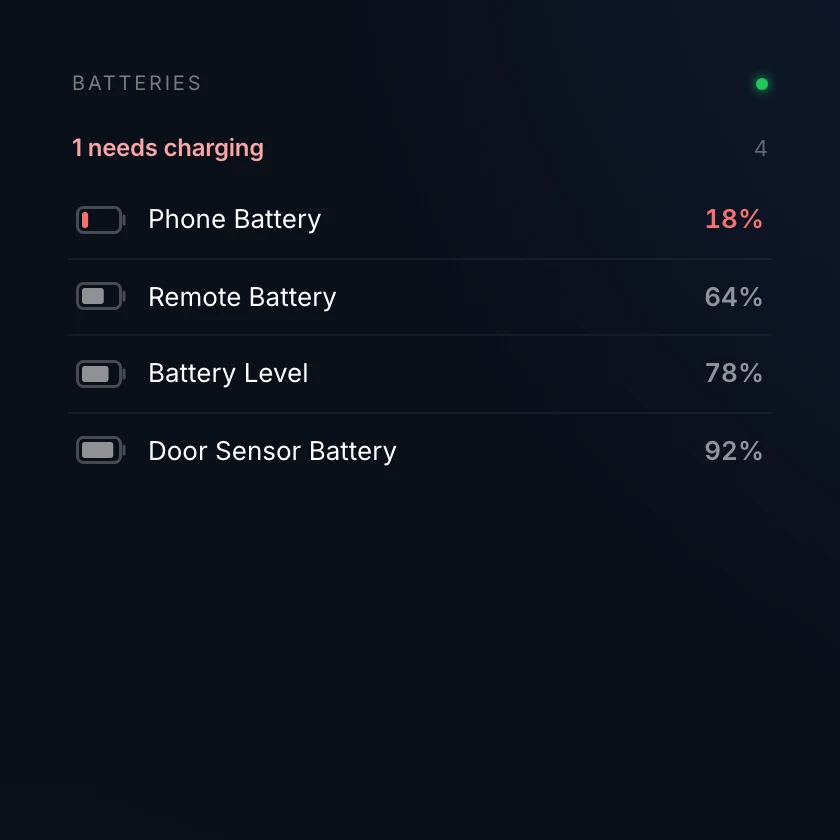
- Batteries. One view that finds every battery level Home Assistant knows about, emptiest first, and says how many need charging.
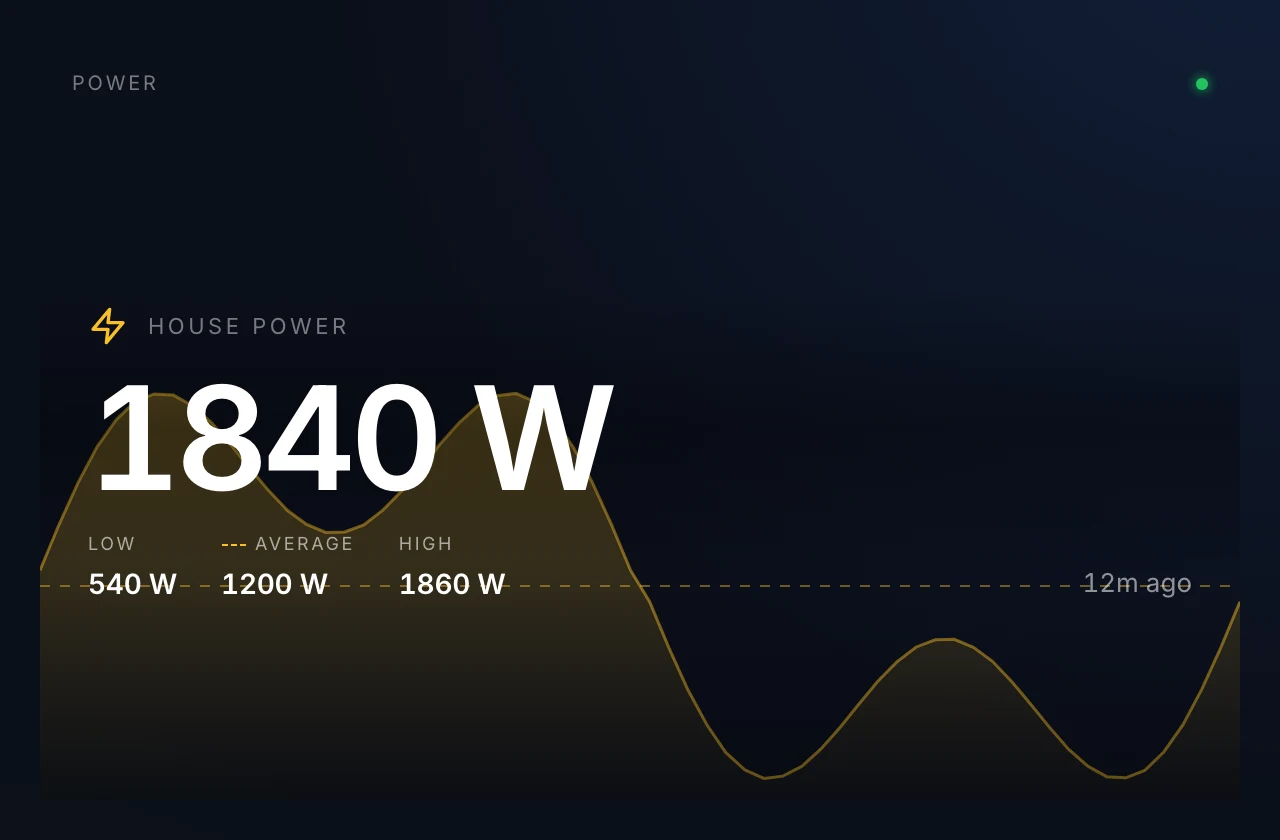
- Power. What the house is pulling right now, big enough to read from the doorway, with the day's shape drawn behind it and the day's low, average, and high underneath.
- Trends. Turn on 24-hour history to draw a sparkline with the day's range on sensor cards that measure things (temperature, power, CO₂...). The single-entity view draws that day full-width behind the number instead.
- Home Assistant icons. Look rules take any Home Assistant icon by its
mdi:name. The editor looks the name up and saves the icon with the rule, so displays never download an icon font or icon catalog. - Tiny. ~70 KB gzipped. A shared display cache means N modules on one screen make one
/api/statescall per tick.
Going the other direction — controlling your displays from Home Assistant, including by voice through Assist ("show the calendar", "tell everyone dinner is ready") — is covered by the Voice Control guide. Its house-modes pattern pairs with this plugin: modules show or hide based on a mode you set by voice.
Screenshots
| Card grid | Status board |
|---|---|
 |  |
 |  |
 |  |
Setup
1. Create a Long-Lived Access Token in HA
In Home Assistant, open your Profile → Security → Long-Lived Access Tokens (bottom of the page). Click Create Token. Copy it now — HA only shows it once. Tokens are valid for 10 years.
2. Install the plugin
Install from the Plugin Store inside the Home Screens editor, or download a release tarball from the Releases page and side-load it.
For general Home Screens setup, see the documentation.
3. Configure
The connection is set up once for the whole plugin — every widget, condition search, and automatic state sharing use it. You can do it from either place:
- Drop a Home Assistant module onto a screen and open its settings — the Connection section is right there the first time.
- Or open the plugin's card in the editor's plugin manager.
Either way:
- Enter your HA URL —
http://homeassistant.local:8123,http://192.168.x.x:8123, or your public HA URL. - Paste the token. You should see
Connected — HA 2026.x · 247 entities. - In the module, pick a View, then browse and check off Entities (this only chooses what the widget shows — state sharing doesn't need it).
Sizing the widget
Drag the module to the size you want, then use Text size in the module's style panel to set how big everything inside it draws. Cards, icons, spacing, and buttons all scale together off that one slider, so a widget on a 4K screen looks the same as one on a 1080p screen just bigger. The default is 14; on a 4K wall display 28–40 is usually about right.
The rest of the style panel works too. Text color repaints the whole widget, not just the labels — set it to something dark and the cards turn into light tiles with dark text, ready for a pale background. Border, shadow, background, and blur all behave the way they do on every other widget.
Full-screen views
Dashboard, Energy Flow, and Timeline sit under Full screen in the View picker. They are made to be the only module on a screen:
- Add a new screen and drop one Home Assistant module on it.
- Drag the module to fill the screen (or set its size to the display's resolution).
- Set Text size to about 24 on a 1080p display, 40 on 4K. Everything inside scales from that one number.
- The module header starts off for these views; the view carries its own title. Turn Show header on if you want it back.
The Dashboard with nothing picked shows everything that lives in your Home Assistant areas (one section per area). Pick entities to narrow it down, or choose one area. Scenes are never pulled in automatically; pick the ones you want on the wall.
Conditional visibility (state publishing)
This plugin publishes Home Assistant entity states to Home Screens' shared-state bus, so any module — native or plugin — can show or hide based on an entity's state. Example: show a red door icon only while binary_sensor.back_door_sensor_intrusion reports intrusion (raw state on).
Setup
Publishing is automatic and demand-driven (v1.4.0+, Home Screens 1.8+): any entity key referenced by a visibility condition or a Text-module token is published by the plugin's built-in state provider — no Home Assistant module needs to be placed, and there is no entity list to keep in sync.
- In the editor's plugin manager, open the Home Assistant plugin's Plugin settings and set your server address (the token stays in the secrets UI as before).
- On the module you want to gate (e.g. an icon), add a visibility condition and search for the entity by name: pick it from the list, then pick its value — options show the friendly text alongside the raw state ("Open (on)") and store the raw state for you.
Upgrading from 1.3 or earlier? State publishing now reads the server address from the plugin settings, so complete step 1 above or your existing visibility conditions will stop updating after the upgrade. The old hidden Run hidden in the background instance is no longer used and can be deleted.
Keys and values
Keys are plugin:home-assistant:, e.g. plugin:home-assistant:light.kitchen. Values are raw Home Assistant states (on, not the Alert / Open text shown on cards), matched exactly and case-sensitively. The condition builder handles all of this for you — search picks the key, the value dropdown stores the raw state — so hand-typed values are only needed for entities the search can't see. Numeric sensors publish the bare number without units (72.5, not 72.5 °F); unavailable and unknown pass through verbatim (condition on notEquals those if you want "known-good only").
Attributes
Any scalar attribute publishes the same way, under plugin:home-assistant:: — e.g. plugin:home-assistant:sensor.phone:battery_level. In the condition search, include part of the attribute name ("phone battery") and pick the "(attribute)" entry; in a Text module, reference the key directly. Attributes that are lists or objects (like weather forecast) can't publish; an attribute Home Assistant drops (like media_title when nothing is playing) clears its key and conditions on it fall back to unknown.
Example
Door-alert icon: add a condition on the icon module, search for the door sensor by name, choose is and the alert value from the dropdown (e.g. "Open (on)").
Phone battery in a Text module (with the host's token filters): Phone: {plugin:home-assistant:sensor.phone:battery_level|round:0|default:–}%
Debugging
Enable Debug logging in the plugin settings (plugin manager), then open the display page's browser console (F12). The provider logs every value it puts on the bus, so you can see exactly what a condition must match:
[home-assistant] provider publish plugin:home-assistant:binary_sensor.back_door_sensor_intrusion = "on"
[home-assistant] provider clear plugin:home-assistant:light.kitchen
Limitations
- The host's bus is capped at 256 keys total across all plugins, and silently drops keys past the cap. Demand-driven publishing keeps this comfortable — only keys actually referenced by a condition or token are ever published.
- Only entities that exist in Home Assistant publish. A typo'd or deleted entity id never receives a value, so conditions on it stay unknown (hidden by default). Entity ids longer than 106 characters are likewise skipped (host key-length cap).
- Removing the last condition or token that references an entity clears its key after a short grace window, so conditions on it fall back to unknown.
Architecture notes
LAN access
Home Assistant typically lives on your LAN — homeassistant.local:8123 or 192.168.x.x. Home Screens' plugin proxy normally blocks RFC1918 and mDNS targets for SSRF safety. This plugin declares the localNetwork permission, which relaxes that gate to allow private IPs while still blocking:
- Loopback (
127.0.0.1,::1) - Cloud metadata (
169.254.169.254,fd00:ec2::254) - Non-http protocols
REST, not WebSocket
The plugin uses HA's REST API — no persistent connections, no leaks to worry about. Polls /api/states on your configured interval (5 seconds to 1 hour). Recovers automatically from HA restarts. Registry data (areas) is fetched through POST /api/template with Jinja2 since HA's area registry is WebSocket-only.
Shared cache
window.__HS_SDK__.displayCache lets multiple HA module instances on the same screen share one fetch cycle. Service calls apply the response's updated states to the cache immediately, so tapping a light flips the card without waiting for the next poll.
One scale and one palette for the whole module
The host hands every module a style object and expects the module to use it. Two providers in RootFrame are the only places those values enter the display tree.
Size — every dimension on the display surface (type, gaps, padding, icons, touch targets) is authored at the size it should be at the manifest's default fontSize of 14, then multiplied by useScale() (see src/scale.tsx). Interactive surfaces use u.touch() instead of u() so a small text size can't shrink a button below a fingertip.
Color — neutrals come from useTheme() (see src/theme.tsx): t.fg(α) is the host's Text color at an alpha, t.shade(α) is the surface side for scrims. Semantic hues stay palettes, in a light-on-dark and a dark-on-light set, picked by the luminance of the Text color; each hue has a base (icons, dots, chart strokes), a text (a label on a surface already tinted with that hue), and a loud (a label carrying the meaning on its own). Card, button, alert, and sheet surfaces all come from the theme.
New markup on the display path should go through both helpers. A bare pixel literal is a piece of the module that stops scaling; a bare rgba(255,255,255,…) is a piece that goes invisible the moment somebody sets a dark Text color. The two exceptions are commented where they live: MediaView and its transport controls sit on blurred album art behind their own dark scrim, so they are fixed on purpose.
Every string goes through tr()
src/i18n.ts wraps the host's translator; each call carries its English text as the fallback, so a missing key or an old host degrades to English rather than showing a dotted key on a family display. src/i18n.coverage.test.ts fails the build if a tr() key is missing from translations/en-US.json, if any locale's key set drifts from English, or if a translation drops or renames a {placeholder}.
Home Assistant's own state vocabulary is deliberately not translated — formatValue capitalizes the raw state string, and localizing that would mean shipping HA's entire vocabulary.
Build
npm install
npm run build
# → dist/bundle.js, dist/mdi.json, dist/mdi-icons-LICENSE.txt
dist/mdi.json is Home Assistant's full icon catalog. The editor fetches it from the host's plugin asset route when someone types an icon name into a look rule; the display bundle never includes or loads it. Ship all of dist/ in the release tarball.
Scale harness
e2e/ mounts the built bundle with a stubbed host SDK and canned Home Assistant responses, then reports the computed size of every text node at two Text size settings:
npm run build && npm run e2e:setup     # once per checkout
npm run e2e:scale card-grid            # add --sheet for the detail sheet
Any row reading FIXED is a dimension that ignores the host's Text size, and the footer counts how many text nodes derive from the host's Text color. Add --light to render the module the way somebody would style it for a light wallpaper (dark text on near-white), which is the check that nothing is hardcoded white; --sheet opens a detail sheet first; --history turns on the 24-hour charts, which are the only markup that draws its own colors and so the part --light most needs to reach. Pair them: npm run e2e:scale card-grid -- --light --history.
--locale de-DE renders through that dictionary the way the host registers it, and --pseudo wraps every English string in guillemets so anything rendered without them never reached tr(). The key-coverage unit test can only check that the keys a tr() call names exist; --pseudo is what catches a string that was never routed at all, which is how the status board's domain headings and the climate view's target 70° turned up after the keys all checked out. What it lists is Home Assistant's own data (entity names, raw states, numbers) plus anything genuinely missed, so it needs reading rather than asserting.
node e2e/style-probe.mjs
Checks the host style properties against computed style on the real bundle: border, shadow, the chromeless skip, the opacity-into-background-alpha rule that keeps backdrop blur visible, and the host timezone reaching the one place that formats a calendar date. It fails 5 of its 7 cases against the build from before those were implemented, which is the point.
node e2e/imgdiff.mjs a.png b.png pixel-diffs two --shot captures and exits non-zero if they differ, which is how a change is checked for leaving the shipped look untouched: capture the baseline with the change stashed, capture again with it applied, diff. The harness pins the clock so "17h ago" can't rot a baseline across an hour boundary. Playwright is borrowed from the host app checked out beside this repo.
License
MIT